Printer Installation and Setup Guide
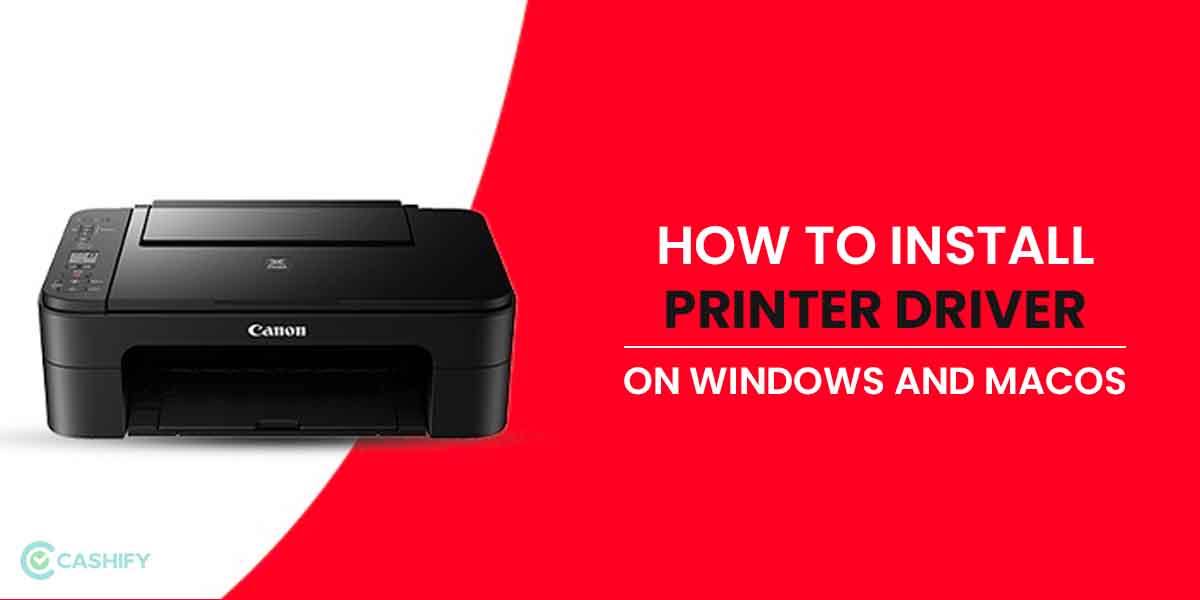
Step-by-step printer installation and driver setup guide
Step 1: Unpack and Inspect Your Printer
Carefully unpack your printer from the box and remove all protective materials, including plastic covers and foam padding. Check that all components are included: the printer unit, power cable, USB cable (if applicable), and documentation. Inspect the printer for any visible damage during shipping.
Step 2: Choose the Right Location
Select a stable, flat surface for your printer. Ensure the location has adequate ventilation and is away from direct sunlight, moisture, and extreme temperatures. Leave enough space around the printer for paper loading and maintenance. Avoid placing it near heat sources or in dusty environments.
Step 3: Install Toner or Ink Cartridges
Open the printer cover and locate the cartridge compartments. Remove the protective tape from new cartridges. Insert cartridges into their designated slots, following the color coding. Ensure cartridges click into place securely. Close the printer cover gently.
Step 4: Load Paper into the Tray
Open the paper tray at the bottom or side of the printer. Insert a stack of standard paper (usually 20-24 lb weight). Adjust the paper guides to fit the paper width. Don't overfill the tray—leave about half an inch from the top. Close the tray securely.
Step 5: Connect Power Cable
Plug the power cable into the back of the printer. Connect the other end to a power outlet. Turn on the printer using the power button. Wait for the printer to complete its startup sequence, which may take a few minutes. You should hear beeping sounds and see indicator lights.
Step 6: Connect to Your Computer
For USB connection: Connect the USB cable from the printer to your computer. For network connection: Connect the Ethernet cable to your router, or select your WiFi network from the printer's menu. Follow the on-screen prompts to establish the connection.
Step 7: Install Printer Drivers
Insert the driver CD that came with your printer, or download drivers from the manufacturer's website. Run the driver installation program and follow the on-screen instructions. Select your printer model and connection type. Allow the installation to complete fully.
Step 8: Add Printer to Your System
On Windows: Go to Settings > Devices > Printers & Scanners > Add a printer. On Mac: Go to System Preferences > Printers & Scanners > Add Printer. Select your printer from the list and click Add. Your printer should now appear as an available device.
Step 9: Print a Test Page
Right-click on your printer in the Devices menu and select "Printer properties." Click "Print Test Page." A test page should print successfully. If it doesn't, check connections and reinstall drivers if necessary.
Step 10: Configure Printer Settings
Access printer settings through your computer's control panel. Configure default settings such as paper size, print quality, and color options. Set up any advanced features like double-sided printing or watermarks. Save your preferred settings.
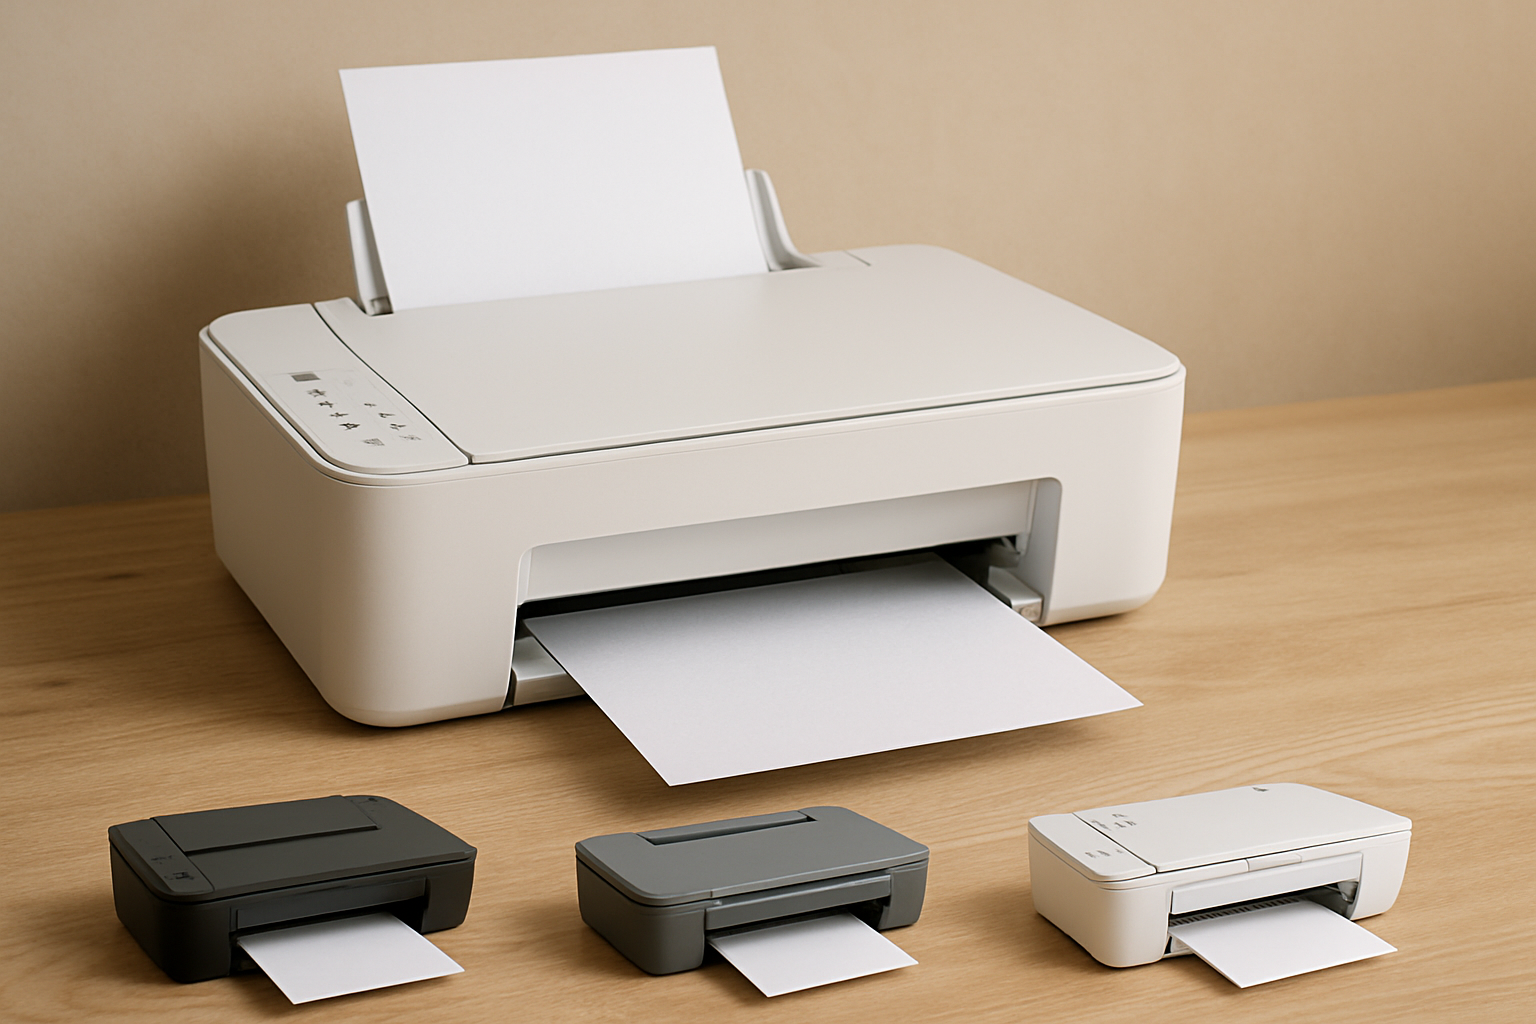
Professional printer configuration and setup
Troubleshooting Common Installation Issues
Driver Not Found
If Windows can't find the driver automatically, visit the manufacturer's support website directly and download the driver manually. Ensure you select the correct operating system version (32-bit or 64-bit). This is the most common installation issue and is easily resolved with the correct driver.
Printer Not Detected
For USB connections, try a different USB port or cable. For network connections, ensure the printer and computer are on the same Wi-Fi network. Restart both devices. Check that the printer is powered on and has completed its startup sequence.
Installation Fails
Temporarily disable antivirus software during installation, as some security programs block driver installation. Ensure you have administrator privileges on your computer. Restart your computer and try again. If issues persist, try installing in Safe Mode.
Post-Installation Steps: Verification and Optimization
After successful installation, follow these important post-installation steps to ensure your printer is working optimally:
Print a Test Page
Print a test page to verify that everything works correctly. This confirms the driver is installed properly and the printer can communicate with your computer. A successful test page indicates proper installation.
Adjust Printer Settings
Access printer settings to adjust default options like paper size, print quality, color settings, and double-sided printing preferences. These settings improve your printing experience and can save time and resources.
Install Firmware Updates
Check the manufacturer's website for any available firmware updates. Firmware updates improve performance, fix bugs, and enhance security. Regular firmware maintenance is essential for optimal printer operation.
Configure Network Settings
If using a network printer, configure security settings and access controls for proper network management. Set a strong password for the printer's admin interface to prevent unauthorized access.
Set Up Printer Sharing
If desired, configure printer sharing so other computers on your network can use the printer. This allows multiple users to benefit from a single printer device.
Advanced Setup Scenarios & Optimization
Multi-Device Printing Setup
Modern printers often need to work with multiple devices. Here's how to optimize your setup:
- Ensure network printer: For multiple devices, wireless/network connection is essential
- Set static IP address: Assign a fixed IP to your printer to prevent connection issues
- Configure on each device: Add the printer to each computer, tablet, or smartphone
- Enable printer sharing: Allow other users on your network to access the printer
- Set access permissions: Control who can print, manage jobs, and modify settings
- Test from each device: Verify printing works from all intended devices
Optimizing Print Performance
After installation, optimize your printer for best performance:
- Adjust default settings: Set preferred paper size, quality, and color mode
- Enable duplex printing: Save paper by printing on both sides automatically
- Configure toner/ink saving mode: Reduce costs for draft documents
- Set up printer profiles: Create custom profiles for different document types
- Enable power saving: Configure sleep mode to reduce energy consumption
- Update firmware regularly: Check for updates to improve performance and security
Network Security Best Practices
Protect your printer and network from security threats:
- Change default password: Access printer settings and change the default admin password
- Enable encryption: Use WPA2 or WPA3 encryption for wireless connections
- Disable unnecessary services: Turn off features you don't use (FTP, Telnet, etc.)
- Configure firewall rules: Restrict printer access to authorized devices only
- Enable audit logging: Monitor print jobs and access attempts
- Regular security updates: Install firmware patches to address vulnerabilities
Advanced Troubleshooting Guide
Resolving Persistent Connection Issues
Scenario: Printer connects intermittently or drops connection frequently.
- Check Wi-Fi signal strength: Use printer's network status page to verify signal quality
- Reduce interference: Move printer away from microwaves, cordless phones, and other 2.4GHz devices
- Update router firmware: Check manufacturer's website for latest router firmware
- Change Wi-Fi channel: Try different channels (1, 6, or 11 for 2.4GHz) to avoid interference
- Enable 5GHz band: If printer supports it, use 5GHz for more stable connection
- Reduce distance: Move printer closer to router or use Wi-Fi extender
- Factory reset printer: Last resort - reset to factory settings and reconfigure
Driver Compatibility Issues
Scenario: Driver installation fails or printer not recognized after driver update.
- Check OS compatibility: Verify driver is compatible with your Windows/Mac version
- Remove old drivers completely: Use Control Panel or manufacturer's uninstall tool
- Disable antivirus temporarily: Some security software blocks driver installation
- Run installer in compatibility mode: Right-click installer > Properties > Compatibility tab
- Install as administrator: Ensure you have admin rights during installation
- Restart in Safe Mode: Install driver in Safe Mode if normal installation fails
- Contact manufacturer support: If issues persist, reach out to technical support
Print Quality Optimization
Scenario: Prints are faded, streaky, or colors don't match expectations.
- Check cartridge levels: Replace low or empty cartridges
- Run cleaning cycle: Access printer maintenance menu and run print head cleaning
- Perform nozzle check: Verify all nozzles are firing properly
- Align print heads: Use printer's alignment utility for optimal output
- Verify paper type: Use paper recommended for your printer model
- Adjust print settings: Increase quality settings in print dialog
- Calibrate color: Use printer's color calibration tool for accurate colors
Maintenance Tips
Clean the exterior of your printer regularly with a soft, dry cloth. Keep the paper tray clean and free of debris. Replace cartridges when low on ink or toner. Run cleaning cycles monthly to maintain print quality. Keep the printer in a dust-free environment. Regular maintenance extends your printer's lifespan and ensures consistent quality.
Conclusion: You're Ready to Print
Printer installation doesn't have to be complicated. By following the step-by-step instructions in this guide, you can successfully set up your printer and start printing within minutes. Whether you chose a wired or wireless connection, the process is straightforward when you know what to do. This comprehensive guide also covers advanced scenarios, optimization techniques, and troubleshooting solutions for long-term printer success.
Key Takeaway: The most important steps are removing protective materials, installing drivers from official sources, and verifying the connection. After installation, take time to optimize your printer settings, implement security best practices, and perform regular maintenance. If you encounter any issues, refer to the troubleshooting sections in this guide or contact the manufacturer's support team. With your printer now installed, configured, and optimized, you're ready to enjoy reliable, high-quality printing for years to come!
Need Professional Printer Installation?
Let our experts handle your printer setup and configuration.
Schedule Printer InstallationRelated Articles
How to Add a Printer
Complete step-by-step guide for adding a printer to your computer.
Read ArticleWiFi Connectivity Guide
Troubleshooting guide for WiFi connection problems with printers.
Read ArticleExpert Consultation
Get professional guidance from our IT experts for your printer setup needs.
Consult with ExpertSetup Guidance
Learn about professional printer setup and networking solutions for your office.
Printer Setup Guidance